GitHub Integration
Connect GitButler to GitHub for seamless pull request management and branch collaboration directly from the GitButler client.
GitButler integrates seamlessly with GitHub, allowing you to manage the pull requests associated with your branches directly from the GitButler client.
You can setup multiple GitHub accounts and pick which account to use for specific projects. This makes it easy to manage work across different organizations or personal repositories.
Setting up GitHub Integration
To set up GitHub integration, you need to connect your GitButler client to your GitHub account. This is done through the GitButler settings.
Open the GitButler settings by clicking on the profile button in the sidebar, then navigate to the Integrations tab, then click on the Add account button for GitHub.
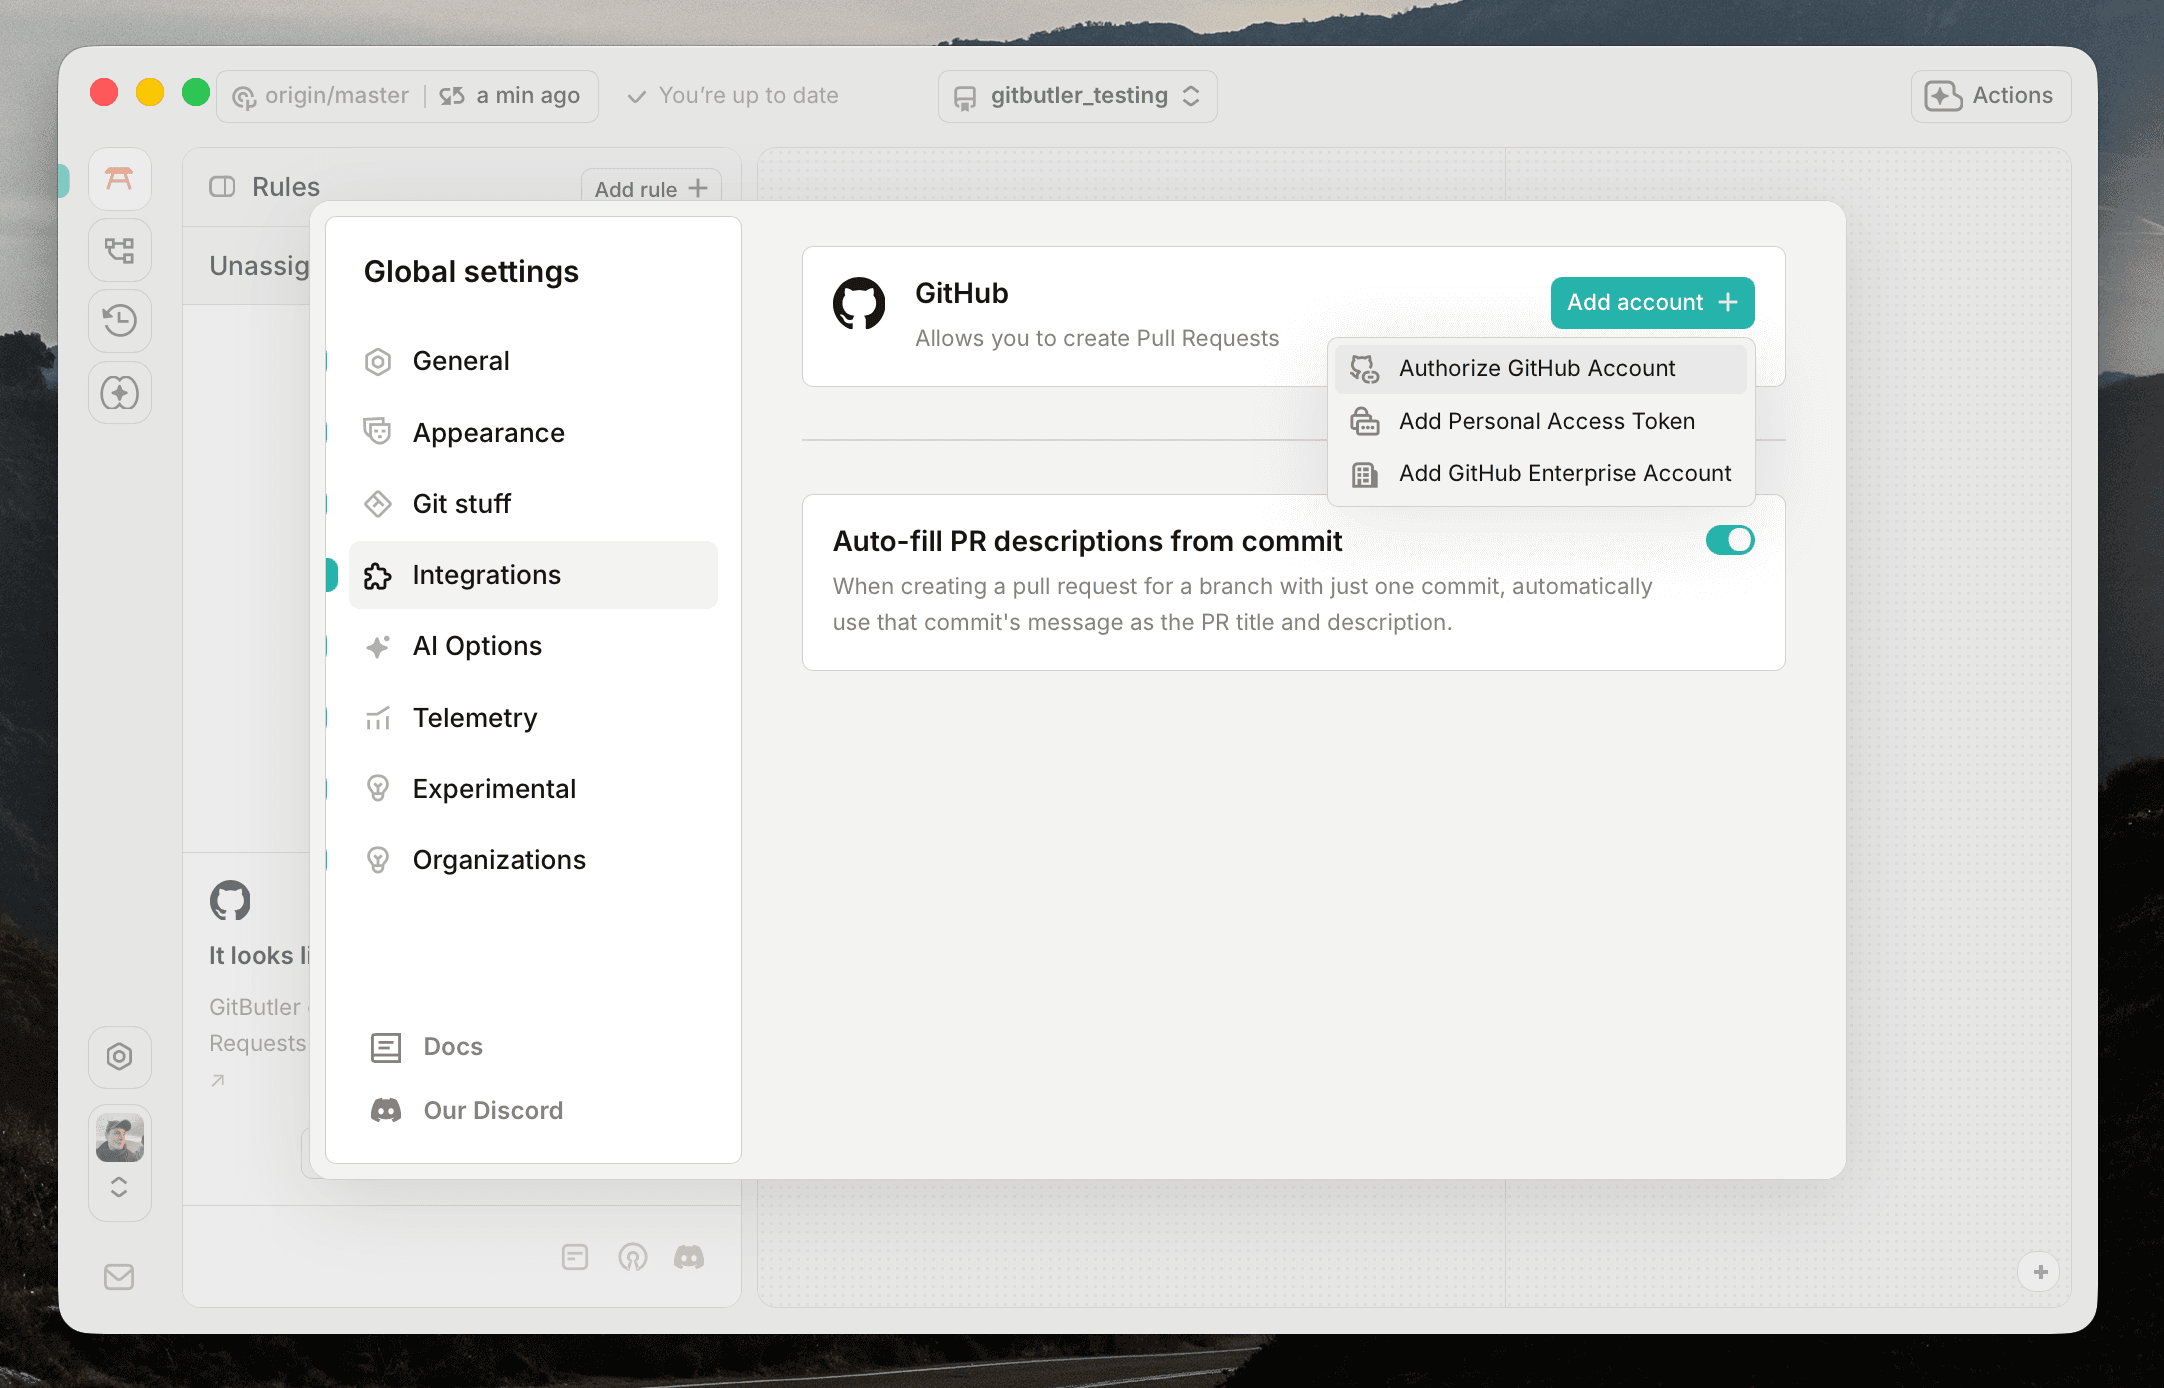
This will offer you to create an account out of the following options:
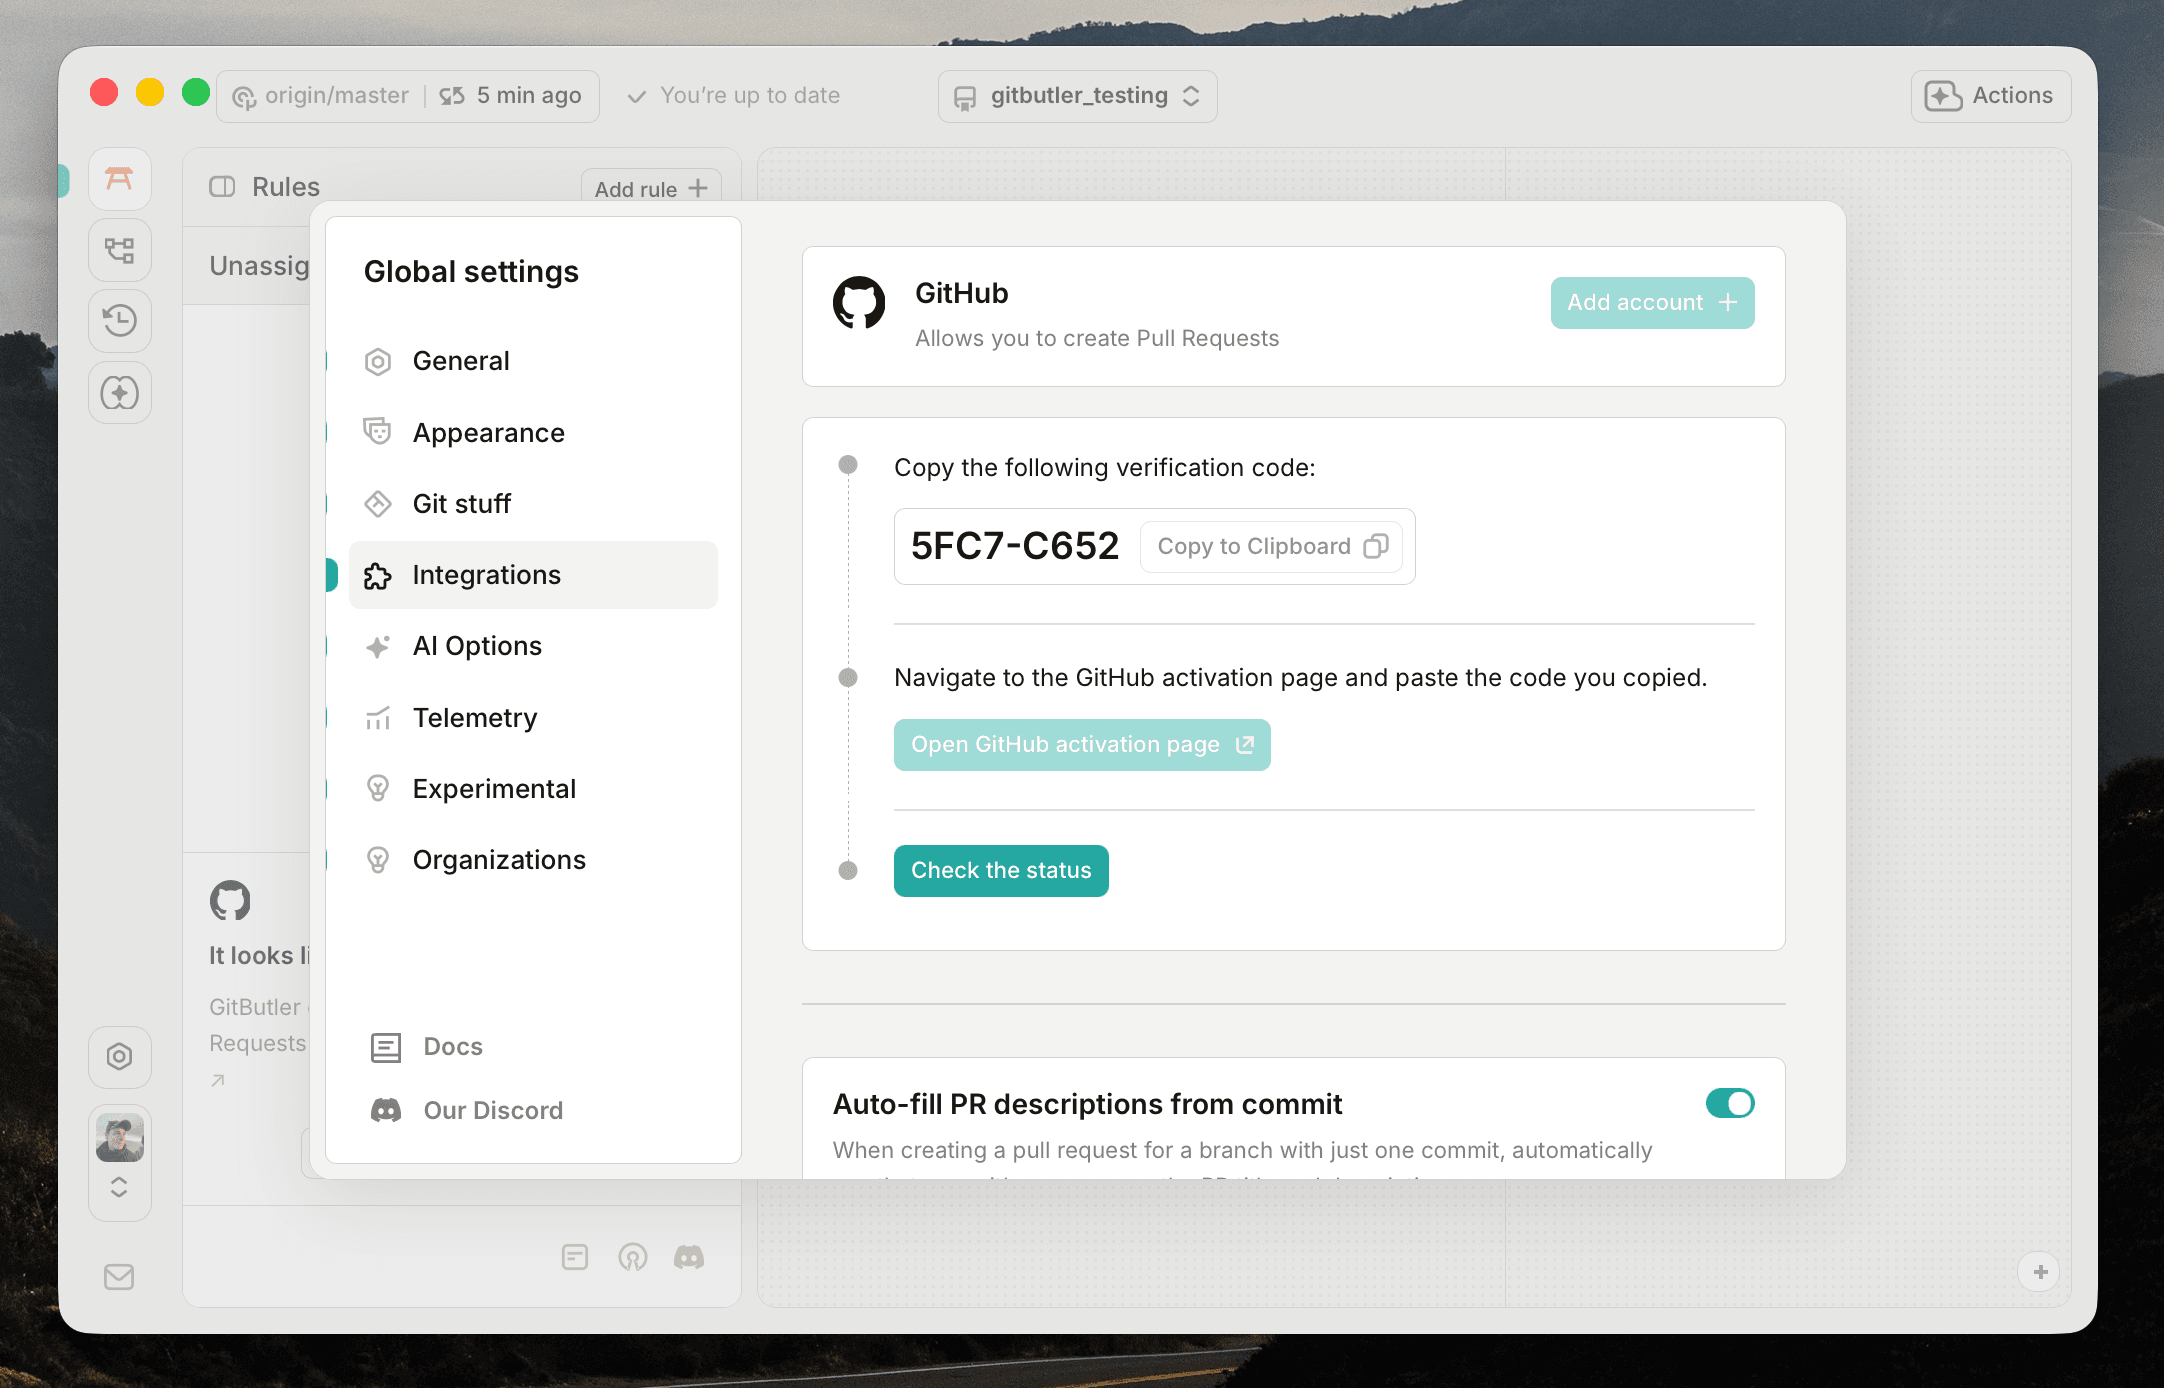
- Device Flow: This option will generate a code and ask you to open a browser window to authorize GitButler to access your GitHub account. This is the recommended option for most users.
- Personal Access Token: This option allows you to manually enter a personal access token from GitHub. This is useful for users who prefer not to use OAuth or need specific scopes for their token.
- GitHub Enterprise: This option allows you to connect to a GitHub Enterprise instance by providing the base URL for the API and a personal access token.
We'll select the Device Flow option for this example.
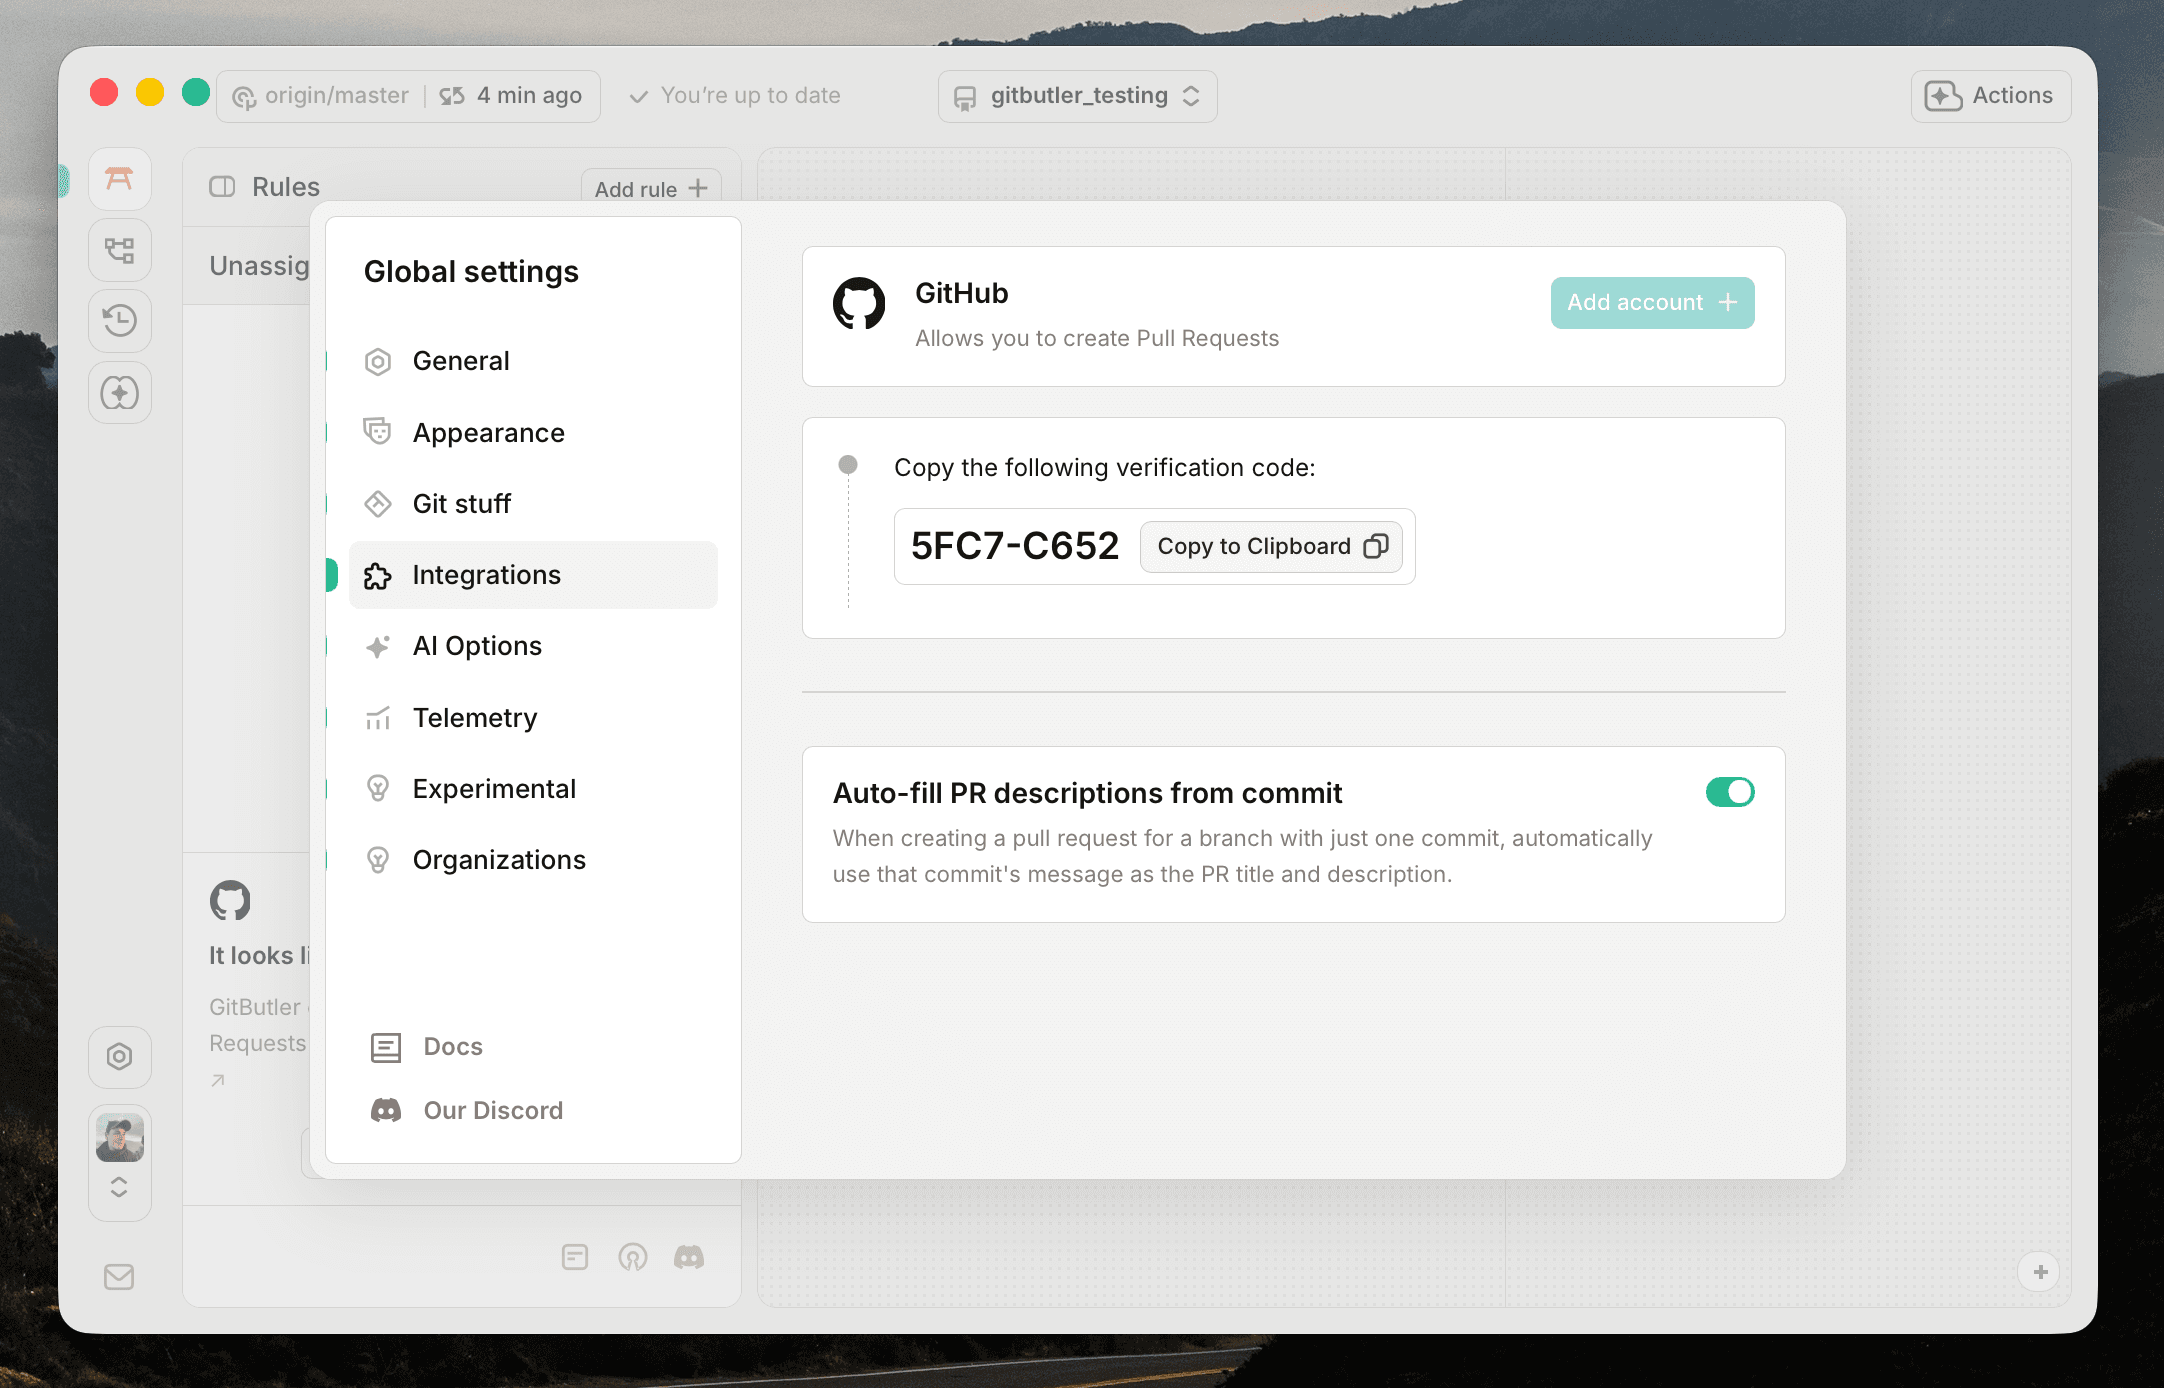
A code will be generated for you. Copy it to your clipboard.
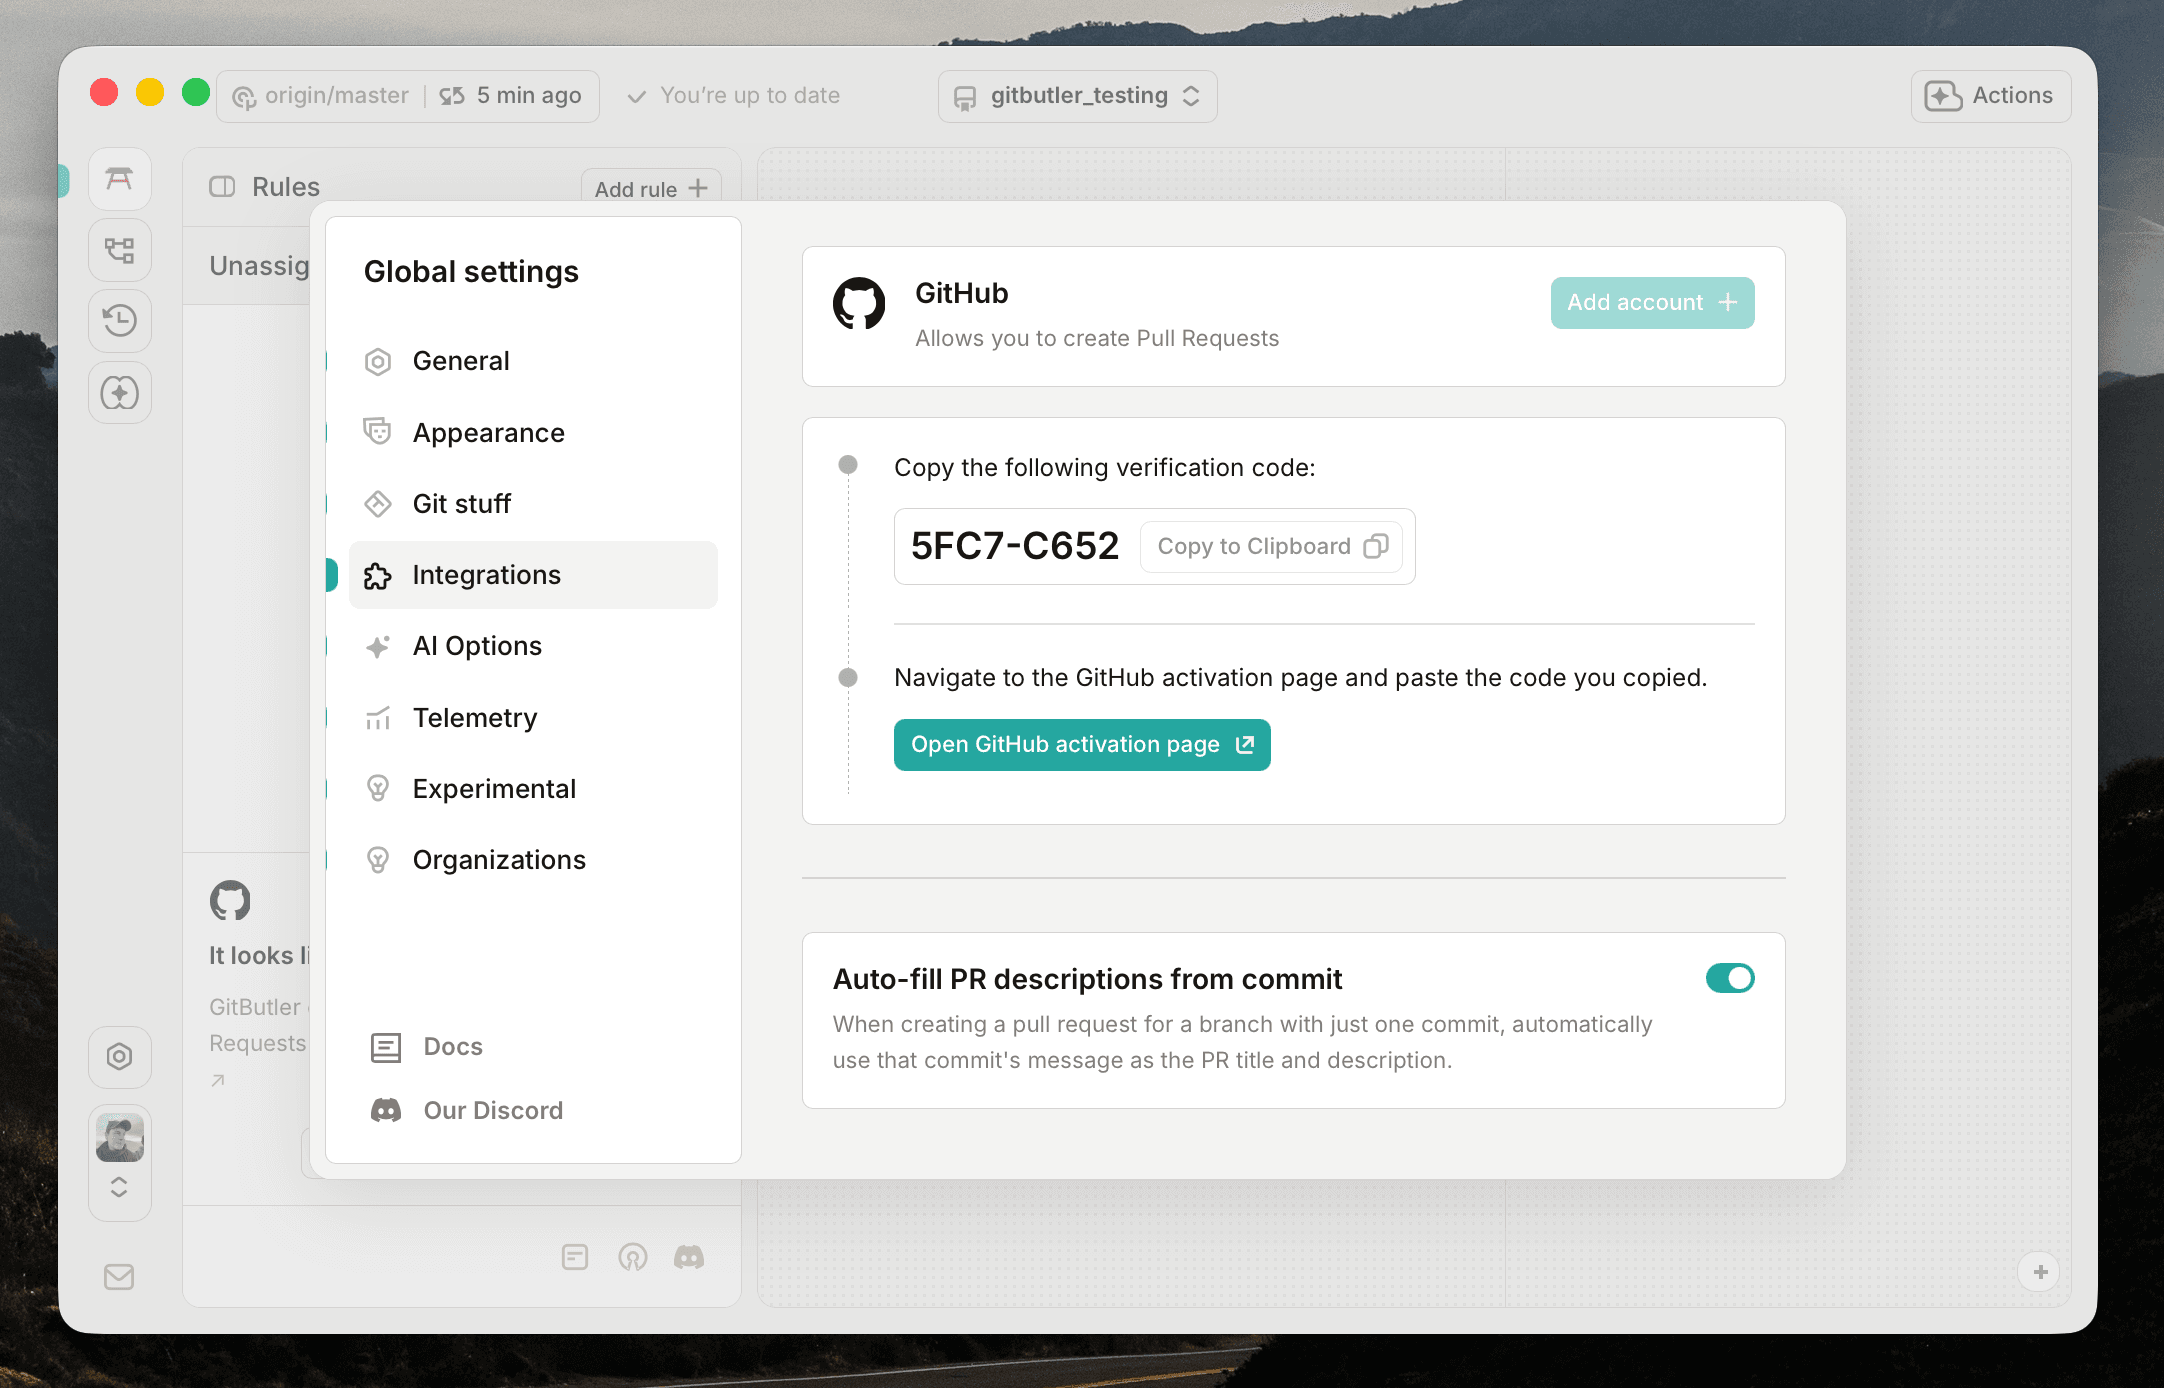
Next, click on the Open GitHub activation page button. This will open a browser window to the GitHub authorization page.
Once you are on the GitHub authorization page, paste the code into the input field and it should let you know that you are authorized.
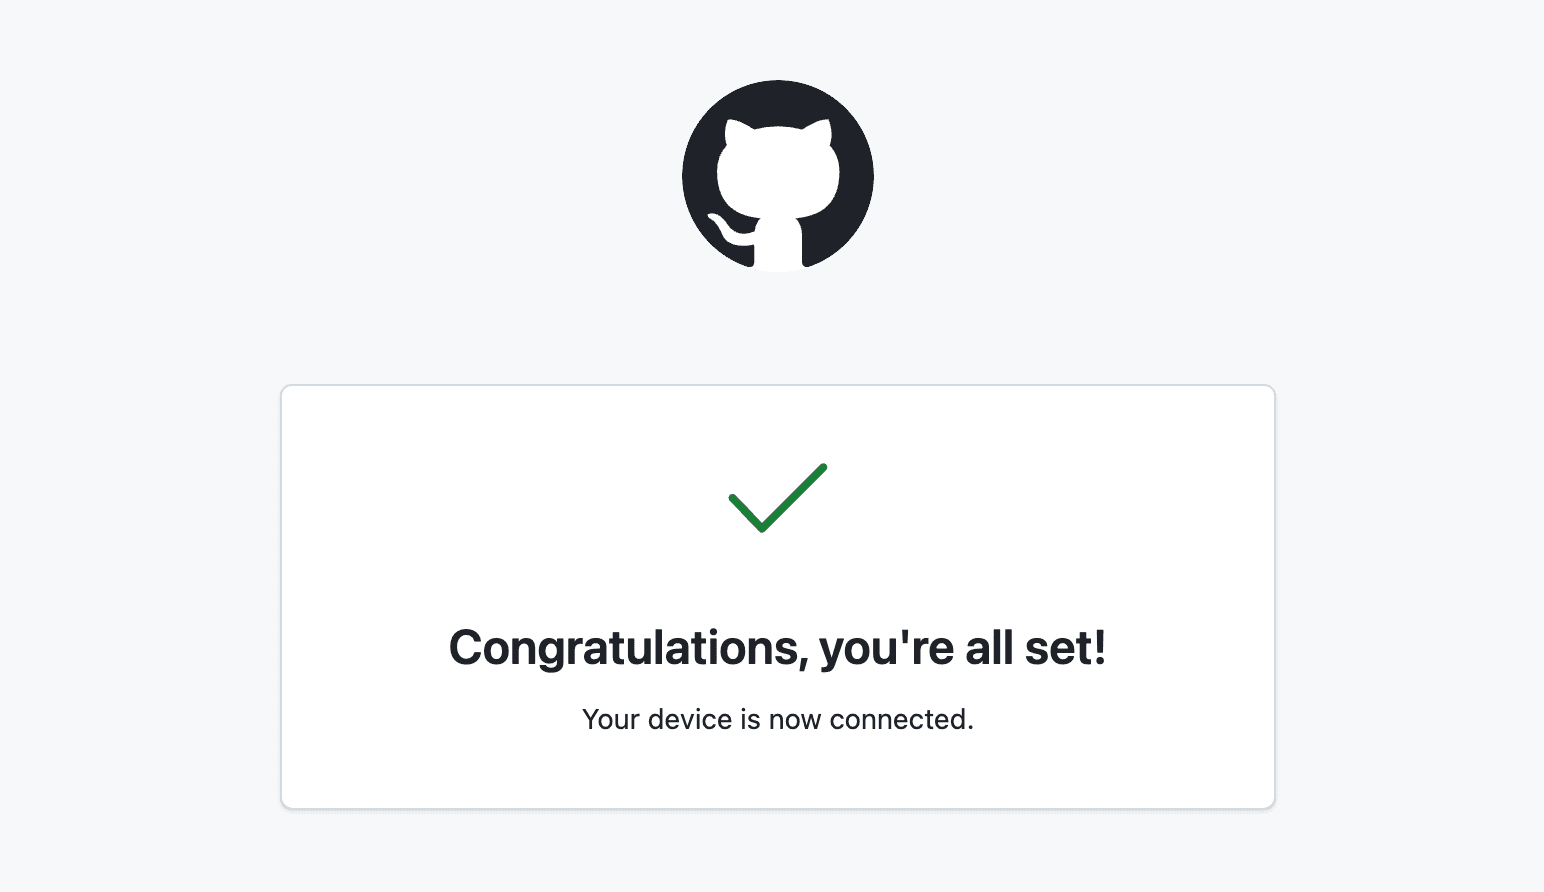
Return to the GitButler client and click on the Check the status button. If everything went well, your account should be connected and you should see your GitHub username in the Integrations tab.
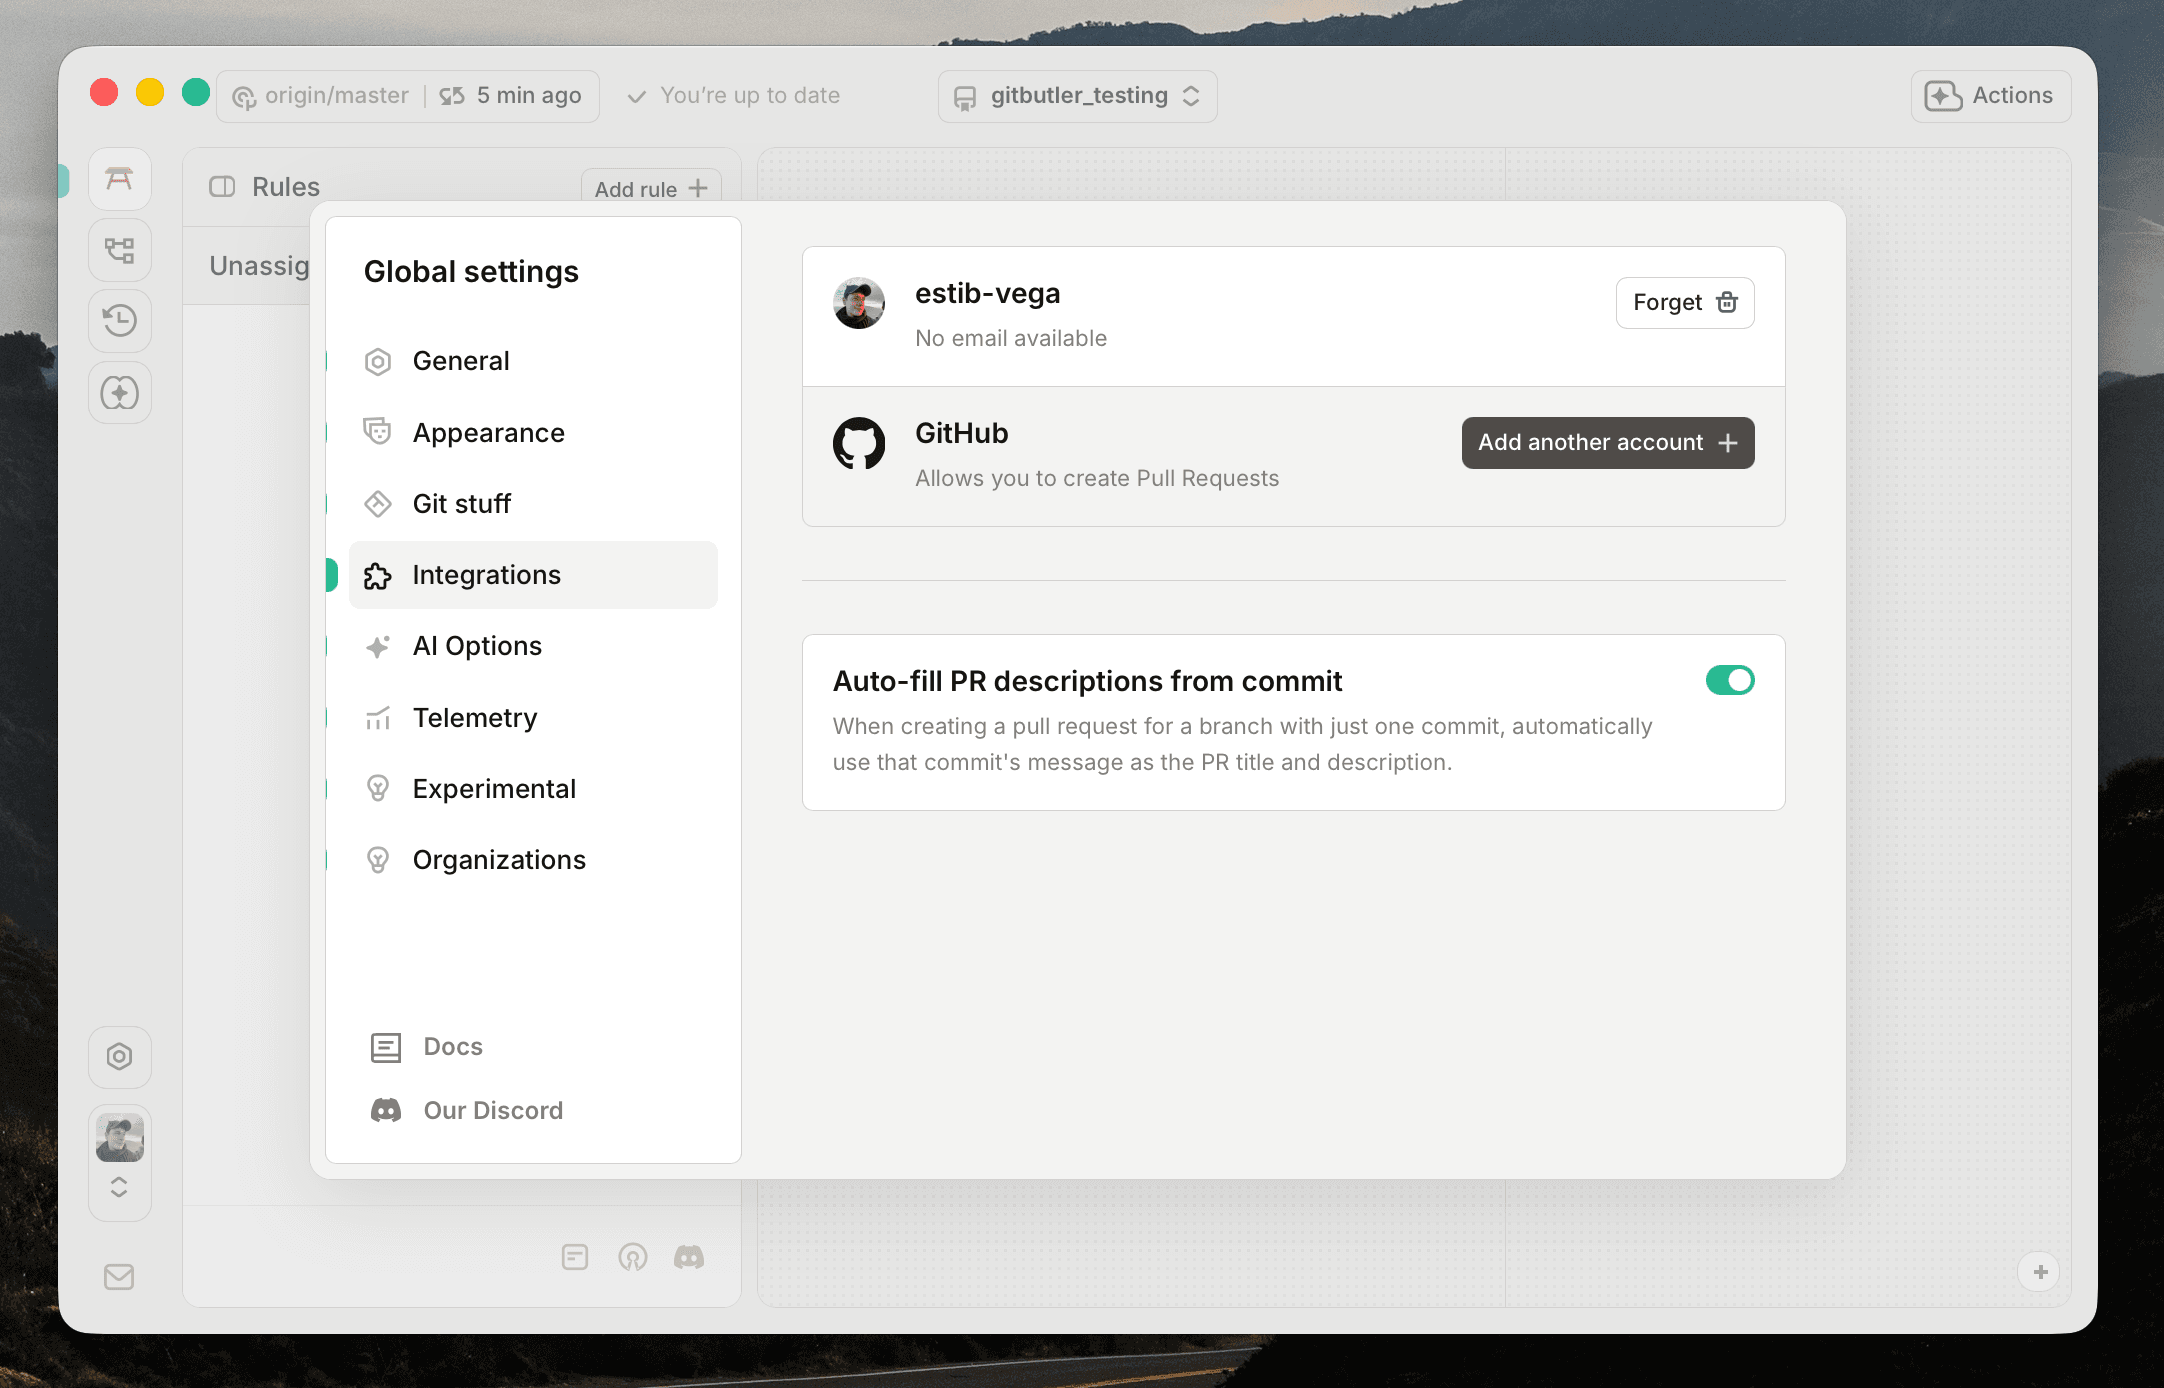
You can always forget an account by clicking on the Forget button next to the account name.
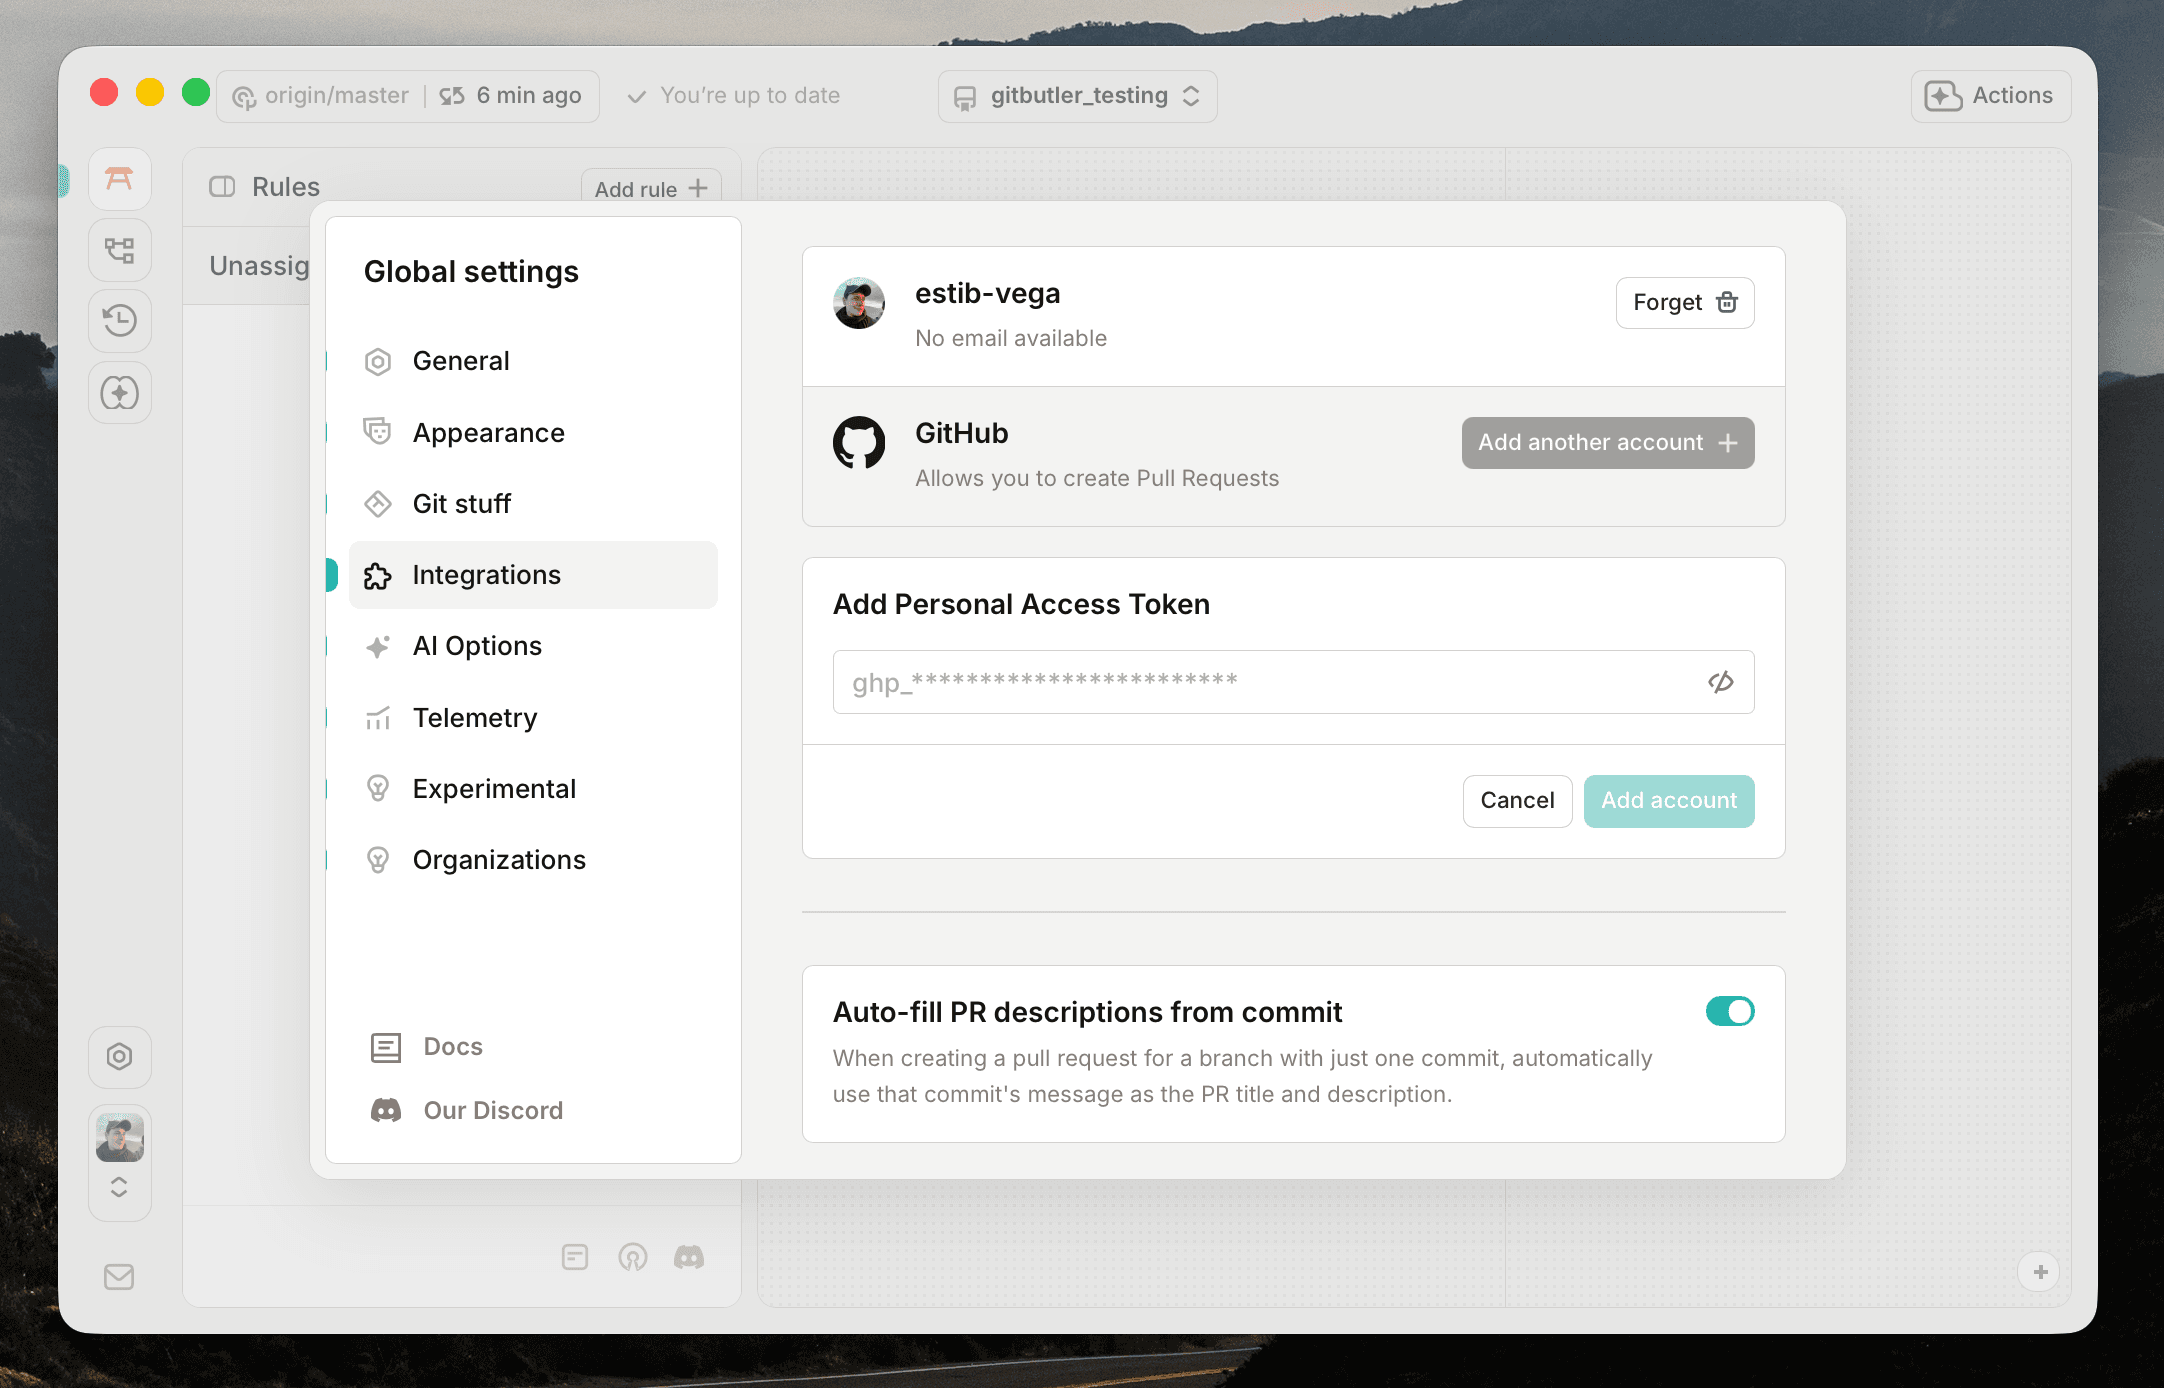
Alternatively, you can also connect your GitHub account using a Personal Access Token by selecting the Personal Access Token option when adding an account. The permissions required for GitButler to manage pull requests are read access to Metadata and read and write access to Pull Requests The required permissions might change in the future as new features are added.
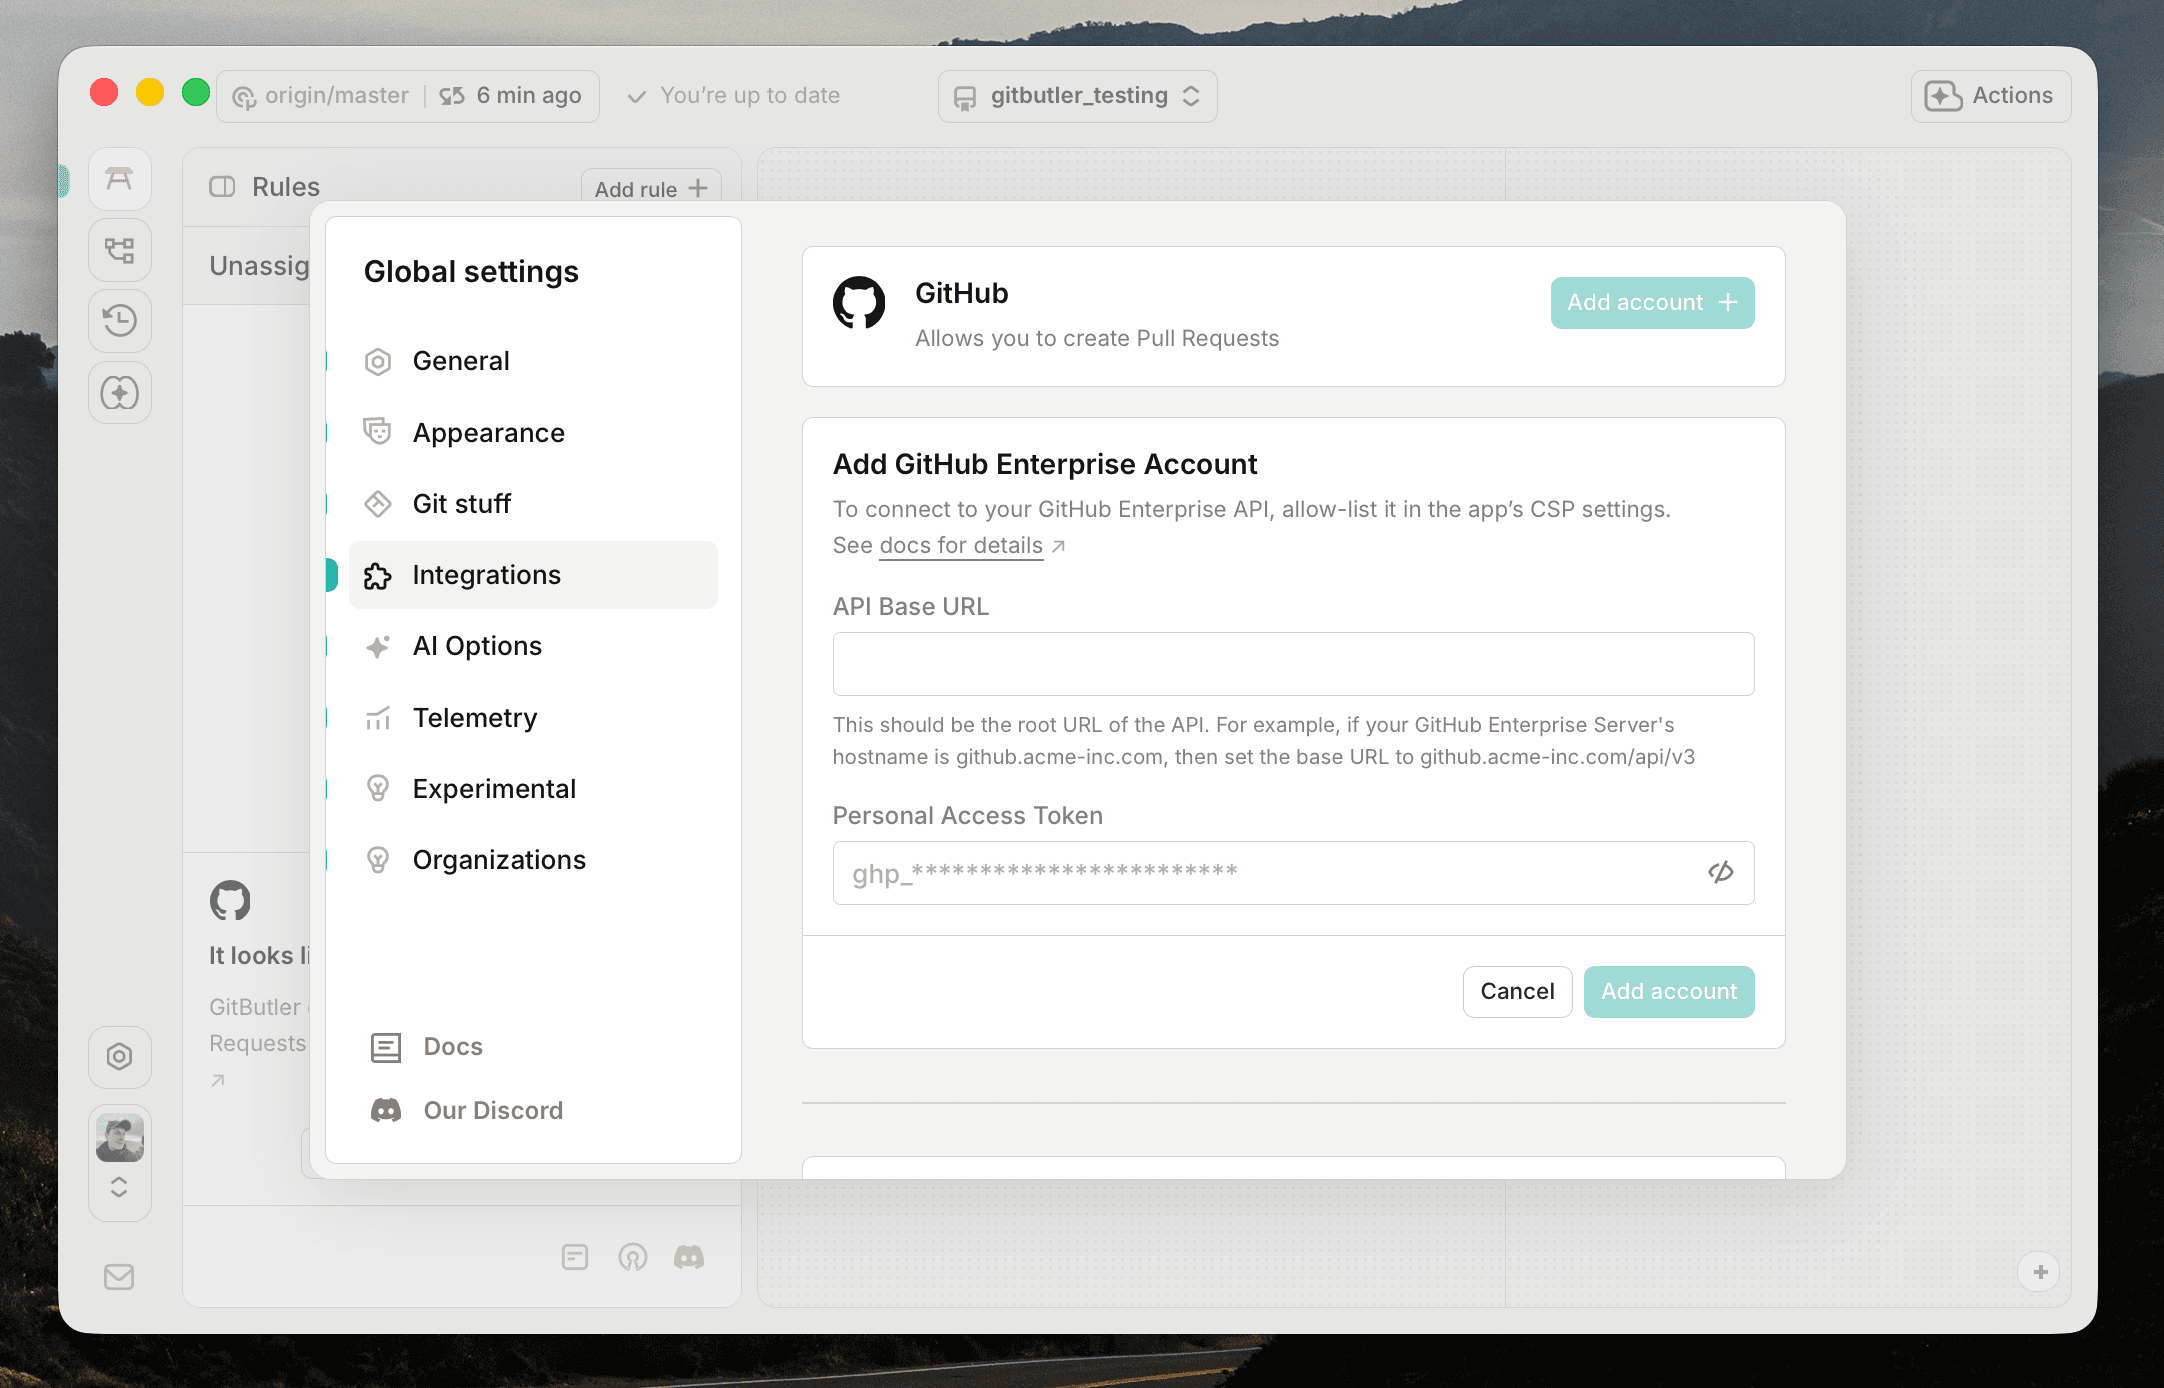
In the case of GitHub Enterprise, select the GitHub Enterprise option when adding an account. This will ask you for the base URL of your GitHub Enterprise instance's API as well as a Personal Access Token with the same permissions as above.
For example, if your GitHub Enterprise Server's hostname is github.a-super-serious-company.com, then set the base URL to github.a-super-serious-company.com/api/v3.
See GitHub's Octokit base URL documentation for more information.
Using GitButler to Manage Pull Requests
Once you have set up GitHub integration, you can open your pull requests directly from the GitButler branch.
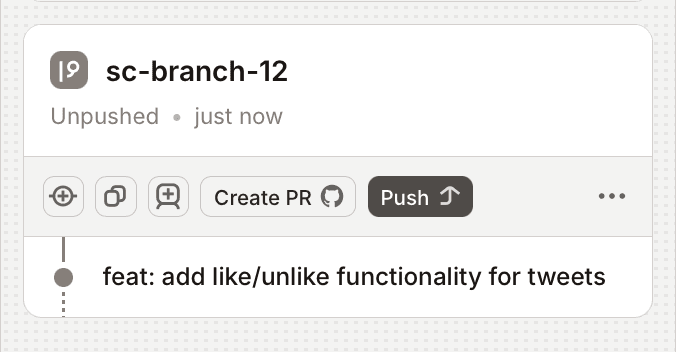
When you create a new branch or commit changes, GitButler will automatically check if there are any associated pull requests on GitHub. You can view these pull requests in the "Pull Requests" tab in the sidebar of the Branches page.
Last updated on